Splicing Solder-Shrink
In stock
Prices incl. 19% VAT if you are in the EU | plus shipping costs.
How to see VAT-free prices for non-EU customers: Read more.
- SKU: HS-SSS-BL
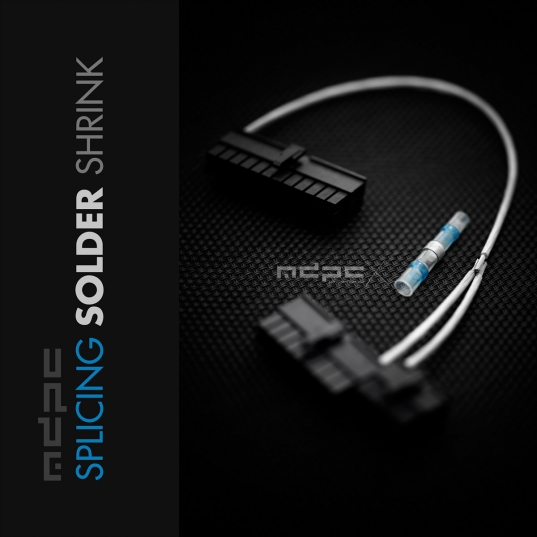
Splicing Solder-Shrink is a solution for making Y-wire splits without owning a soldering iron.
Problem:
Especially when working on PC power supplies, you encounter so called "double wires". Two wires from the PSU end in one crimp terminal on the connector for devices like 24-pin ATX, PCI-E or others. To sleeve these stock double wires is mostly impossible or just too ugly.
Solution:
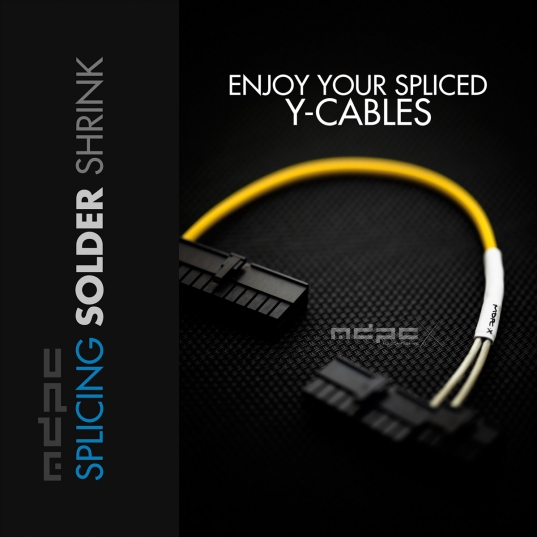
The best way to solve these problems is the so called "wire splicing method". Instead of keeping the described double-wire, you create a Y-wire split, which has the same functionality. 2 short pieces of wire (close to the PSU) are soldered together with 1 single long wire, creating a Y-wire split. All 3 wires can then be sleeved too. You will usually need a soldering iron, but if you don't own one, you can use the Splicing Solder-Shrink.
Usage of Splicing Solder-Shrink:
- You must own a heatgun. Other methods will be too complicated / will often not work.
- The Splicing Solder-Shrink is a heatshrink, which includes a ring of solder on the center, inside the shrink. It also includes 2 blue glue rings, which additionally fix the wires inside.
- 2 unsleeved wires of up to 2.5mm (like our 15AWG wire) outer diameter each (a 5mm OD in total) can be inserted on one side. 1 wire of up to 2.5mm OD + sleeving (SMALL or XTC) can be inserted on the other side, sleeving underneath the glue ring too.
- The wires should be stripped at a length of 7mm to 10mm before inserting them from both ends, all overlapping each other underneath the solder ring.
- You can then quickly fix the 3 wires by heating up the heatshrink a little bit.
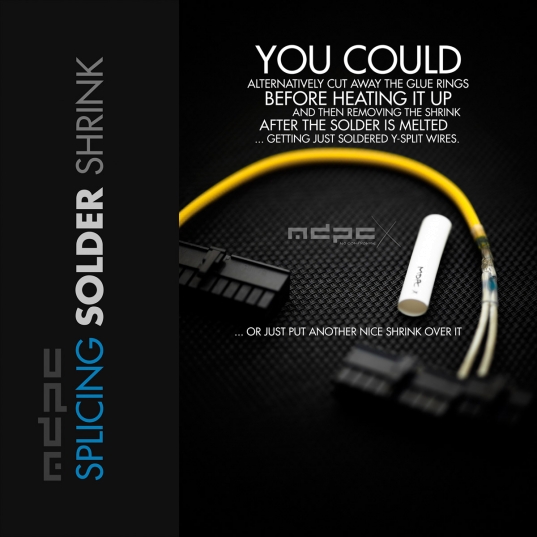
- To make the solder melt, you should apply at least 300°C (400°C is also fine) for at least 15 seconds to the solder ring. You will see once it reacts after some first experiences and practice. Once the solder ring is gone (!), as shown on the photos, you are done.
- Have a look at the photos for further details and ideas. You could also cut away the blue glue rings before doing this all. Without the glue rings, you could also cut away the complete shrink after the solder processing is completed.


