12v-2x6 Connector PCIe-5.1
In stock
Prices incl. 19% VAT if you are in the EU | plus shipping costs.
How to see VAT-free prices for non-EU customers: Read more.
- SKU: CO-12v-2x6
Welcome to PCIe-5.1: This 12v-2x6 cable-end connector is compatible with the 12V-2x6 (PCIe-5.1) PCB-headers/sockets on your GPU and the previous 12VHPWR (PCIe-5.0) headers/sockets on the PCB of your GPU. The difference between the two names (12V-2x6 or 12VHPWR) refers to the PCB-headers/sockets on the card itself. The 12V-2x6 headers/sockets on the PCB must have "H++" stamped on them in order to identify the shorter signal pin position. The cable end connector still has "H+" ("H++" might be optional in the future) stamped on it, because there is no change in dimensions or distances as it happened with the revised PCB header/sockets. The connector is fully compatible with both PCB-header versions.
So what's new with this cable end connector for PCIe-5.1 12v-2x6 in our offering?
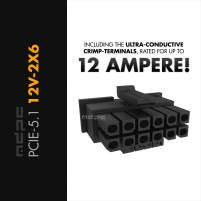
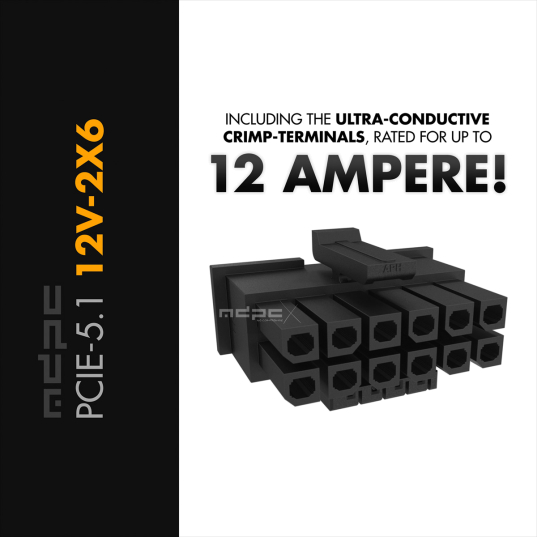
The difference is in the ampere rating for the crimp terminals: The included Amphenol crimp terminals are now rated for up to 12A per terminal! This massively exceeds the official PCIe-5.1 specification of 9.2A per crimp terminal.
(Advice: For practice purposes or non-high-end-GPU, you can order a couple of the discounted 12VHPWR connector & 9.2A crimp terminal kits, found here: 12VHPWR).
You can't have enough of a safety zone when it comes to such small connections with high currents. Make your own maximum safety (!) PCIe-5.1 custom cables, as shown in our PCIe-5.1 12V-2x6 and 12VHPWR custom cable guide. You don't need to sleeve the wires, but at least you fully control the process and perfect result.
The original 12A high current Amphenol crimp terminals for 12v-2x6 connections feature the single-seam (not the potentially unsafe 2 seams) design and additionally a spring type design (not the potentially unsafe dimple design) in horizontal alignment and a maximum contact area / flat surface vertically - without any contact area reducing dimples!
The 12v-2x6 connector features 12-pins for electrical power and 4-pins for side-band information.
When you order one (1) connector, you will also get twice the amount (24) of needed electrical power crimp terminals and twice the amount (8) of needed signal / side-band crimp terminals, allowing you to learn and practice crimping these smaller than usual (compared to ATX and common PCI-Express) crimp terminals.
Important knowledge about making custom cables with the new PCIe 5.1, 12v-2x6 connector standard:
- Have a look at our PCIe-5.1 12V-2x6 and 12VHPWR custom cable guide
- Due to the smaller sizes in every aspect, pin to pin distance (pitch) of 3.00 mm (regular ATX / PCIe = 4.20 mm), a narrower wire insertion slot width of only 2.7 mm and smaller sized crimp terminals, you are much more limited with your choice of wire.
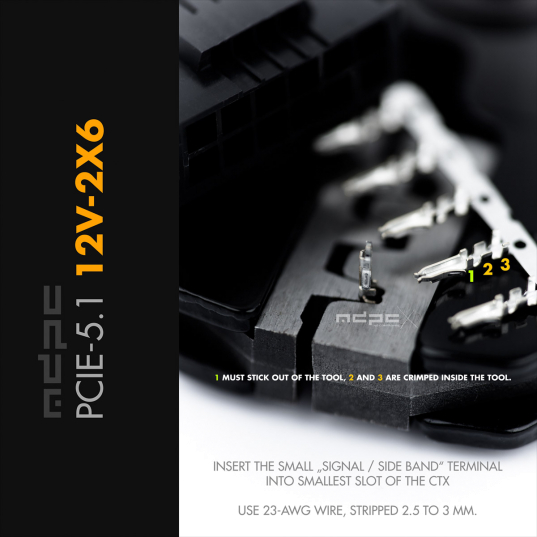
- The maximum outer diameter of your wire for the power crimp terminals can not exceed 2.7 mm, including the crimp terminal material on top of your wire insulation! The signal / side band crimp terminals are used with 23-AWG or 26-AWG wire (see gallery image for crimping technique tips).
- For the power wires, we recommend wire with a maximum outer diameter of 2.0 mm or less, for example a very high quality 17 AWG wire, which typically handles a current of 12 to 15 ampere easily. A 16 AWG wire, as recommended in the PCIe 5.1 specs, can result in imperfect crimps, which is a potential risk for your hardware. 18 AWG would be too far away from original specs in terms of electrical capacities and shouldn't be used if you don't want to risk your hardware.
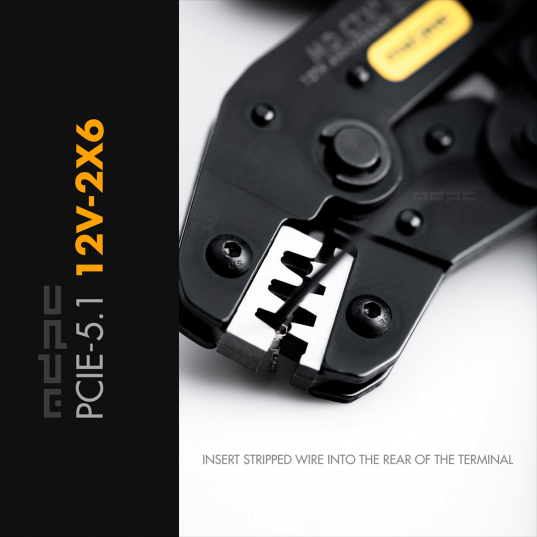
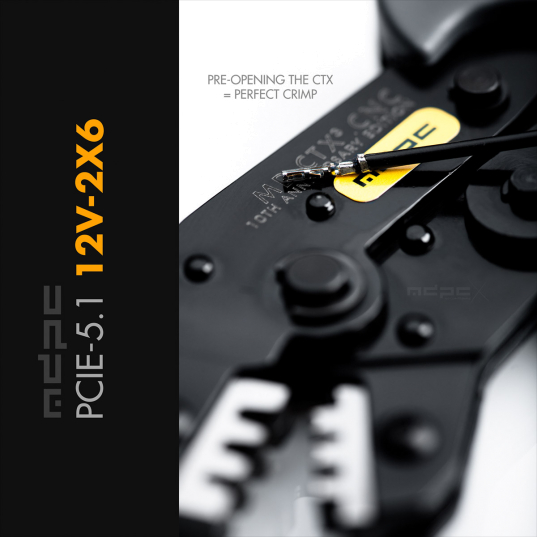
- The gallery shows how to crimp such a wire with our CTX-3 crimping tool. Insert the empty crimp terminal into the smallest slot, close the handles only to the first stop. Strip the wire on a length between 2.5 to 3.0 mm. Insert the stripped wire correctly into the rear of the crimp terminal (as described in the gallery of the CTX-3 crimp tool). Close the handles of the crimping tool until there is good physical resistance, but not as far as the crimping tool can close! Use the "pre-opening technique" for the crimp tool, by using the little lever on the inner side of the bottom handle, as described in the CTX-3 product description text.
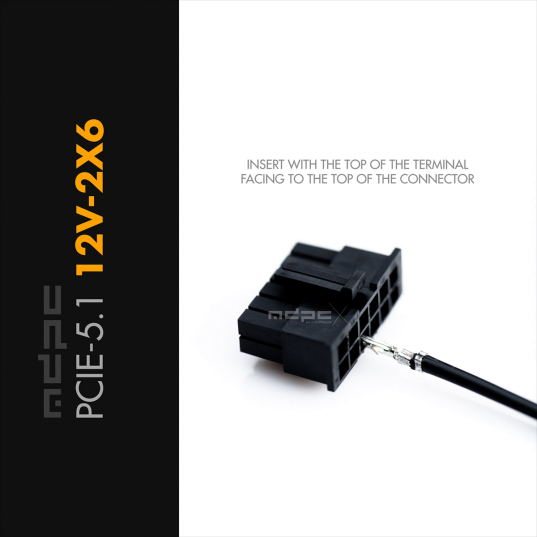
- Insert the crimped wire into the rear of the connector. As always: The top of the crimp terminal faces to the top of the connector. The top of the connector is on the side where the retention lock is.
- If you want to sleeve the wires "shrinkless", with the wire going into the connector, as shown in our PCIe-5.1 12V-2x6 and 12VHPWR custom cable guide, you will use our MICRO sleeve, our 17-AWG wires (18 AWG would be too low in terms of electrical performance) and our transparent MICRO heat-shrink (to melt the sleeving perfectly).
- Removing / extracting the crimp terminals from the connector: Just pull with enough force in the direction of the wire. Before you re-insert the wire into the connector, make sure to re-bend the retention hooks on the terminal to its original position. Don't do this too often, as the fine structure of the hook might take damage.
Enjoy the original PCI-Express Gen 5.1, 12v-2x6 16-pin connector and your custom PCIe 5 cables!

